How to Reconcile in QuickBooks Online
Give your accountant direct access to your books so she can find the reports and information she needs when questions arise. Create a separate login for your accountant to make it easy for her to work with you. You can exchange messages and share documents directly inside QuickBooks, too. There are several reports – such as the The Reconciliation Discrepancy Report, the Missing Checks Report, and the Transaction Detail Report – that can help you identify discrepancies quickly. Once you finish reconciling, you will have the option to view your reconciliation report. Next, let’s go to the window where you’ll actually perform a bank reconciliation.
Products
Once you have logged into your Quickbooks Online account, you can find the ‘Reports’ tab at the top of the page. After clicking on the ‘Reports’ tab, a drop-down menu will appear, offering various report categories such as Sales, Expenses, and Banking. If you can’t find a matching transaction, you can mark it as an outstanding transaction or create a new transaction in QuickBooks. If the difference is not zero, we recommend that you try to locate transactions that aren’t recorded in QuickBooks.
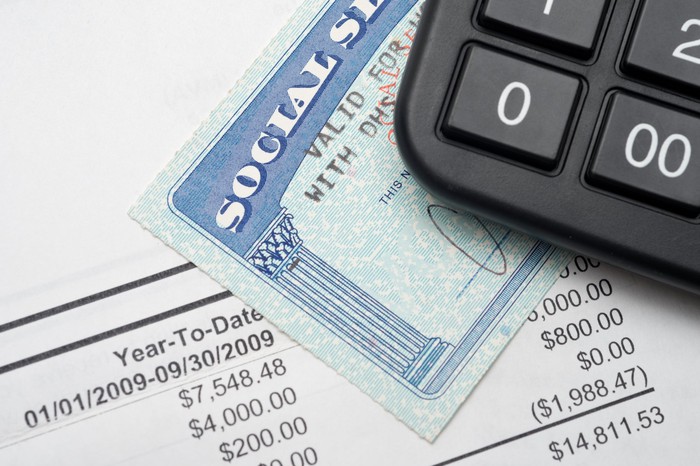
All of your bank and credit card transactions automatically sync to QuickBooks to help you seamlessly track your income & expenses. There are annual financial reports bank-only transactions that your company’s accounting records most likely don’t account for. These transactions include interest income, bank deposits, and bank fees. If your difference is, for example, $21.50, then look for a transaction for this amount on either your bank statement or the QuickBooks list of transactions. You can click on the amount column in the QuickBooks reconciliation screen to sort the transaction by amount.
These transactions, including customer deposits, interest income, and any other additional funds, are essential for maintaining an up-to-date understanding of the company’s financial position. By including details such as check deposits, wire transfers, and electronic payments, this section provides a clear overview of all inflowing monetary activities. Reconciling a bank statement is an important step to ensuring the accuracy of your financial data. To reconcile bank statements, carefully match transactions on the bank statement to the transactions in your accounting records. With QuickBooks, you can easily reconcile bank accounts to ensure that the dollars you record are consistent with the dollars reported by the bank. These discrepancies can include unrecorded transactions, bank errors, or timing differences, and addressing them is essential for maintaining the integrity of financial records.
The bank feeds window is not the reconciliation window
Now, simply compare the transactions on your statement with what’s in QuickBooks. The tricky part is making sure you have the right dates and transactions in QuickBooks so you know everything matches. To verify whether you’re using the Business View, click on the cog wheel at the top right-hand corner of your QuickBooks dashboard, and check whether the button on the lower right-hand says Switch to Accountant view, as shown below.
- Choose the bank account you want to reconcile in QuickBooks, then enter the ending account balance and date from your bank statement.
- We prefer and recommend using the Accountant View because it shows a full range of business accounting features and tools that you can use in QuickBooks.
- Triple-check the statement balance, service charge, and interest income you entered from the bank statement.
- By reconciling these differences, businesses can maintain transaction accuracy and prevent financial misstatements.
- This helps in ensuring the accuracy and integrity of the reconciliation process.
Step 5: Click On “Run Report”
When you finish reconciling accounts, QuickBooks automatically generates a reconciliation report. It summarizes the beginning and ending balances, and it lists which transactions were cleared and which were left uncleared when you reconciled. This report is useful if you have trouble reconciling the following month. By clicking on the ‘Run Report’ button, users can access valuable insights into their cash flow, identify discrepancies, and monitor the overall health of their finances. Taking this step regularly enables businesses to stay on top of their financial data reconciliation and make informed strategic decisions.
Verifying the balances between the calculate lease payments bank statement and Quickbooks Online is crucial in addressing discrepancies identified in the bank reconciliation report, ensuring the alignment and accuracy of the financial records. It helps in reconciling the bank statement with the company’s records, offering insights into any outstanding checks, unprocessed payments, or potential errors in the account’s ledger. Ultimately, this section ensures that the financial standing of the account is accurately reflected and discrepancies are promptly addressed. This starting point is essential for ensuring that all transactions, including deposits, withdrawals, and any outstanding items, are accurately accounted for. By comparing this initial balance with the ending balance reported by the bank, discrepancies can be identified and resolved, thus ensuring the accuracy and integrity of the financial accounts. This is a critical step as it ensures that all relevant transactions within the specified period are included in the report.
You need to review your accounts in QuickBooks to make sure they match your bank and credit card statements. The main difference is that you’ll be reconciling credit card transactions instead of bank transactions. The beginning balance in the summary at the top of the QuickBooks reconciliation screen must equal the beginning balance on your bank statement. If you reconciled the account successfully in the prior month, yet your beginning balance doesn’t match your bank statement, then a previously cleared transaction has changed.
Make sure you’re using the very first bank statement for that account. You may have to go back many months and then move forward, reconciling one month at a time. If it’s impossible to start your reconciliation in the first month of the bank account, you might need an experienced bookkeeper to help with your first reconciliation to get you on track. The top of the report will display summary information similar to the top of the reconciliation screen. Perhaps the most useful information on the report is the list of uncleared, or outstanding, checks and deposits, which you’ll find at the bottom.
(If you’re in the middle of reconciling, stay on the page you’re on and skip to step 4). Selecting the correct account for reconciliation sets the foundation for a streamlined and accurate reconciliation process, ultimately contributing to financial transparency and clarity. Finally, compare your adjusted bank balance to your discontinued operations adjusted book balance. Since you’ve already adjusted the balances to account for common discrepancies, the numbers should be the same. There will be very few bank-only transactions to be aware of, and they’re often grouped together at the bottom of your bank statement.